motto: know the rules then break them
I have been typing for 31 years or so… Until few years ago I did not really pay too much attention to what I used… Over the years I used quite few keyboards. Commodore 64 and some Romanian clone of ZX Spectrum HC-85, IBM Model F and Model M, some Cherry, plenty of plastic abominations and laptop keyboards…. Around 2015/2016 got an IBM Model M from the way to bin, missing some keycaps and needing some sanitation… Soon was back and working and is still working… Then another Model M, working for a national lab has its own advantages… a lot of old kit going to recycling. This Model M broke soon after and I ended up on https://deskthority.net/ looking for info to fix it. The membrane needed replacement… But being a flaneur of internet… ended up pretty soon on https://deskthority.net/viewtopic.php?f=7&t=6050&start=
How they say the rest is history, the Model M is still not fixed. but…
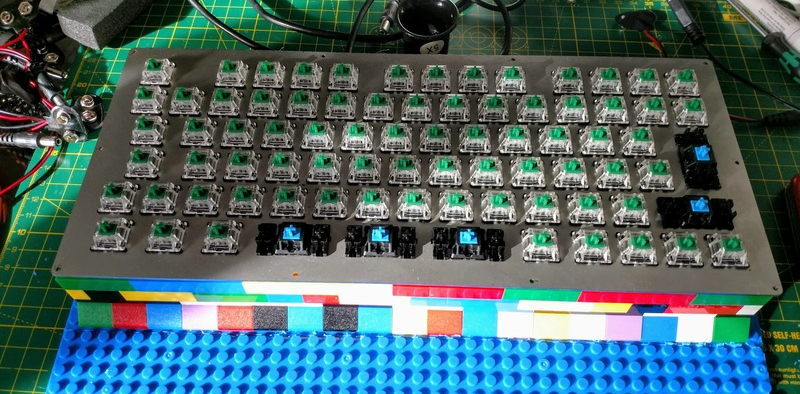
UK 80 my first hand wire at some intermediate stage, around 2017
it is still in use today and goes strong.
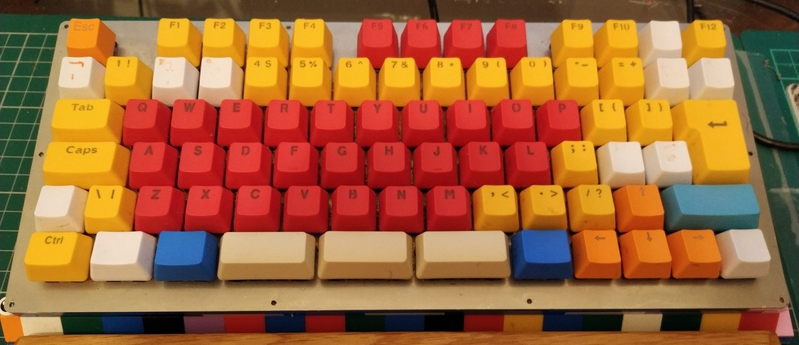
UK 80 my first hand wire, still in use in 2021
ok not a nice view I have to admit… but a theme emerges: lego
Originally the lego suppose to be only support for soldering and building. After seeing the prices to make a box I decided to use the lego for the box too and do the unholly thing to glue the plate from tiles…
Later I noticed the ortholinear it intrigued me by I was afraid to try… Late 2019 i started to toy with the idea and build a hand wired 6x13 ortholinear.
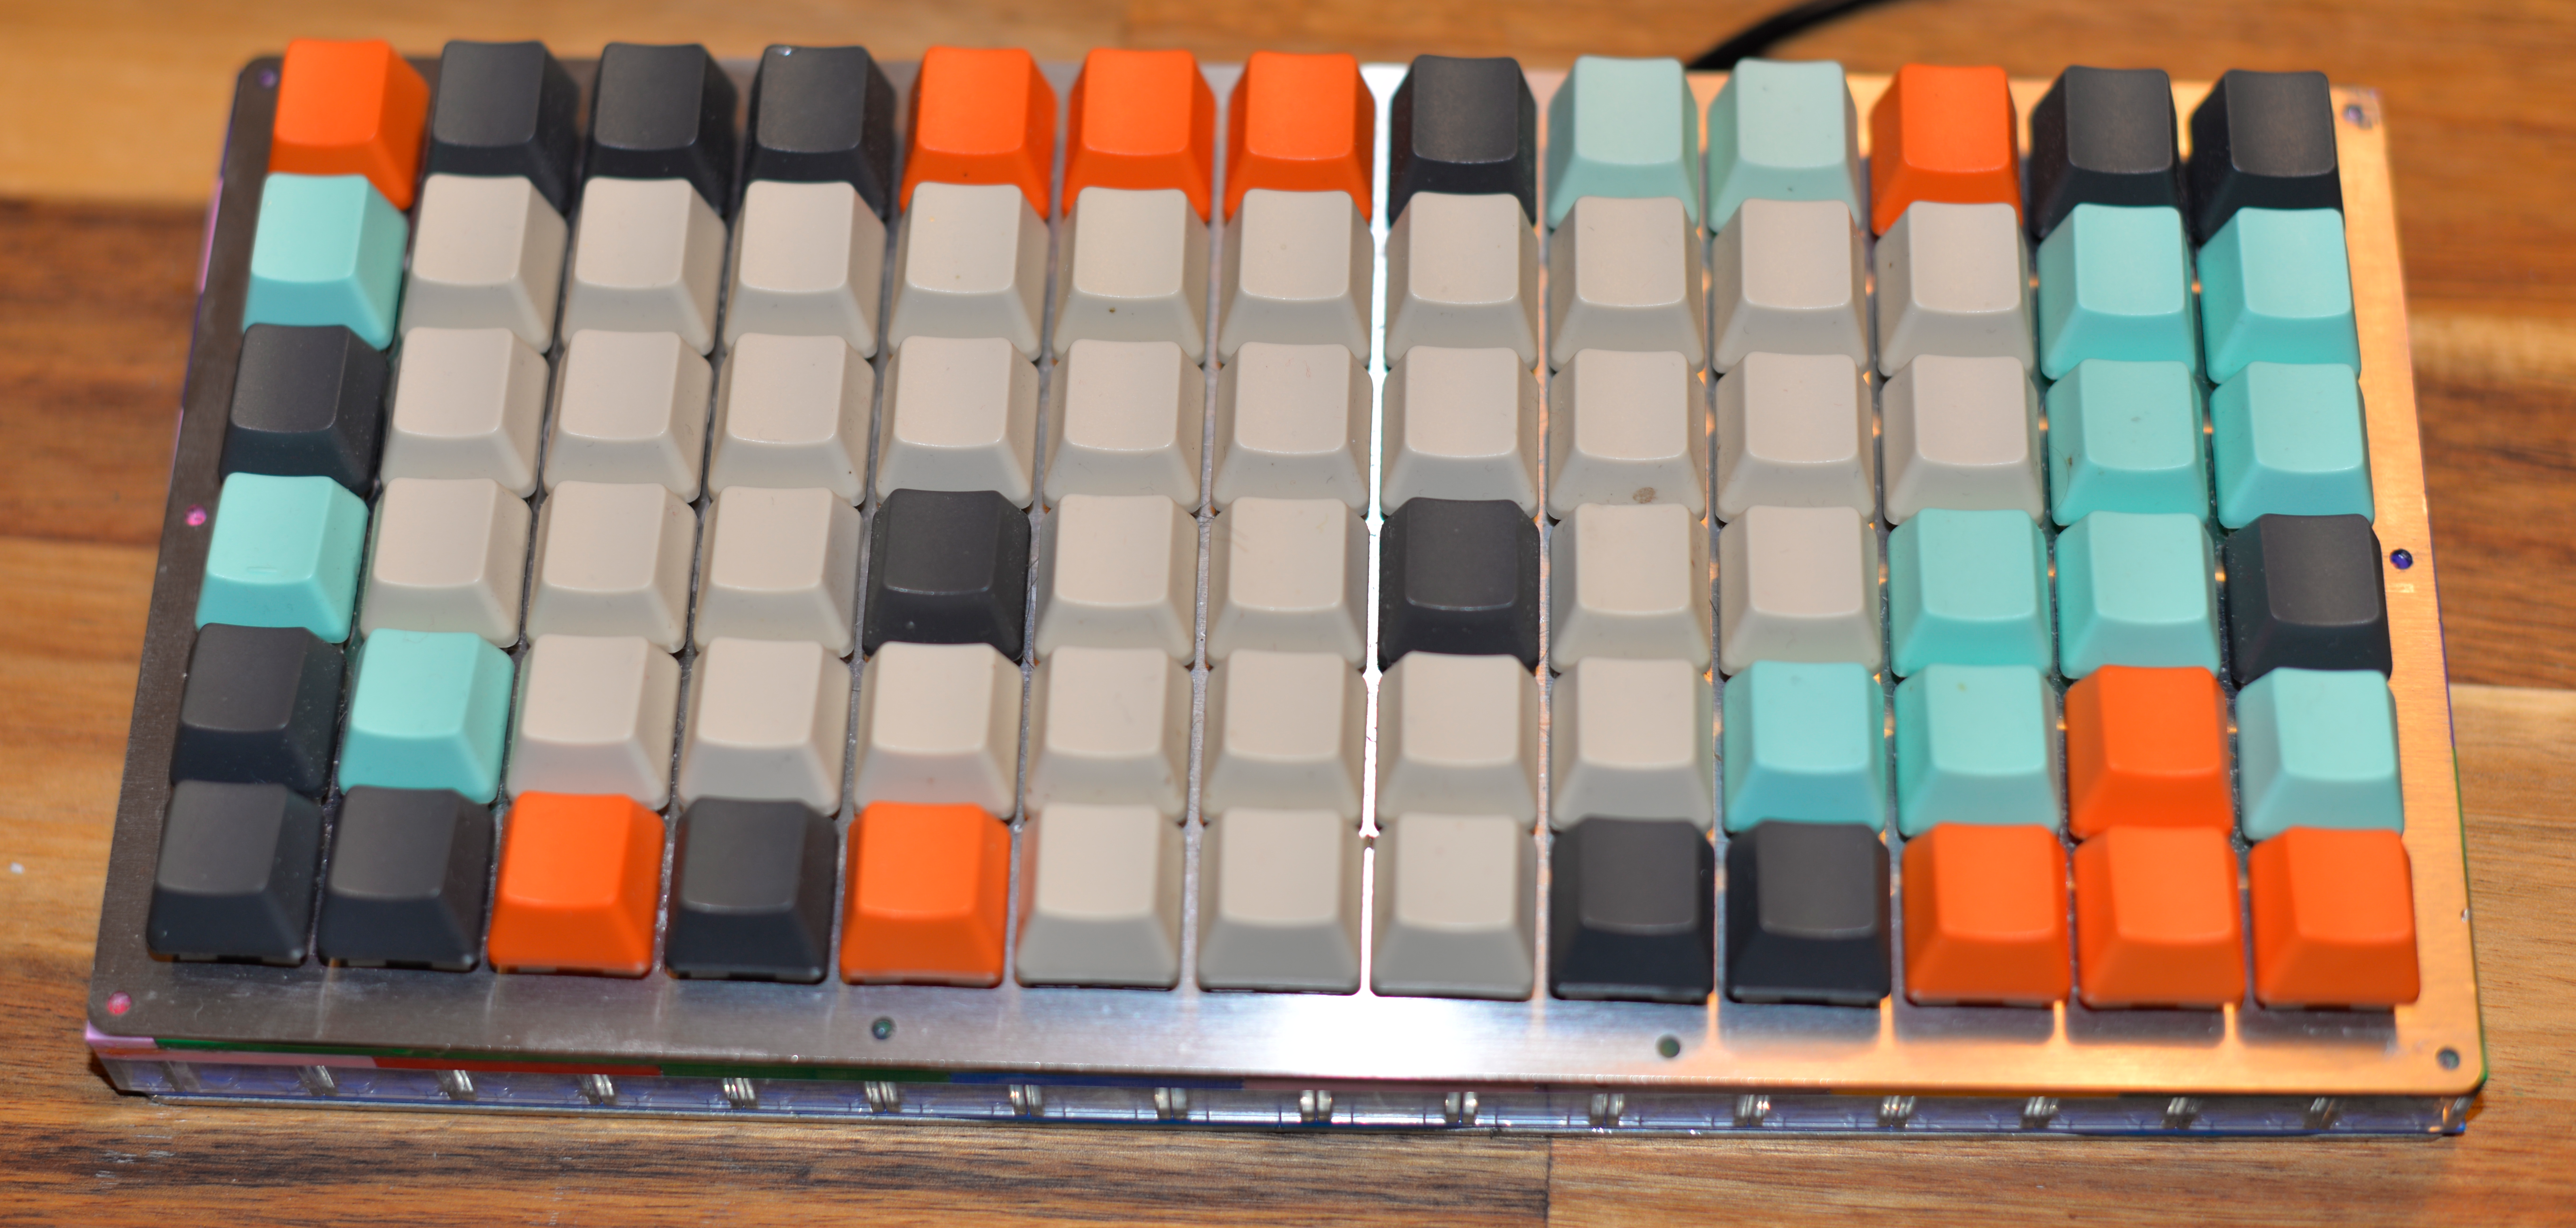
m78 handwired, 2020
I liked it… then when lockdown started I thought let me do a pcb… I seen plaid and I liked the THT idea.
Learnt kicad and ended up with this…
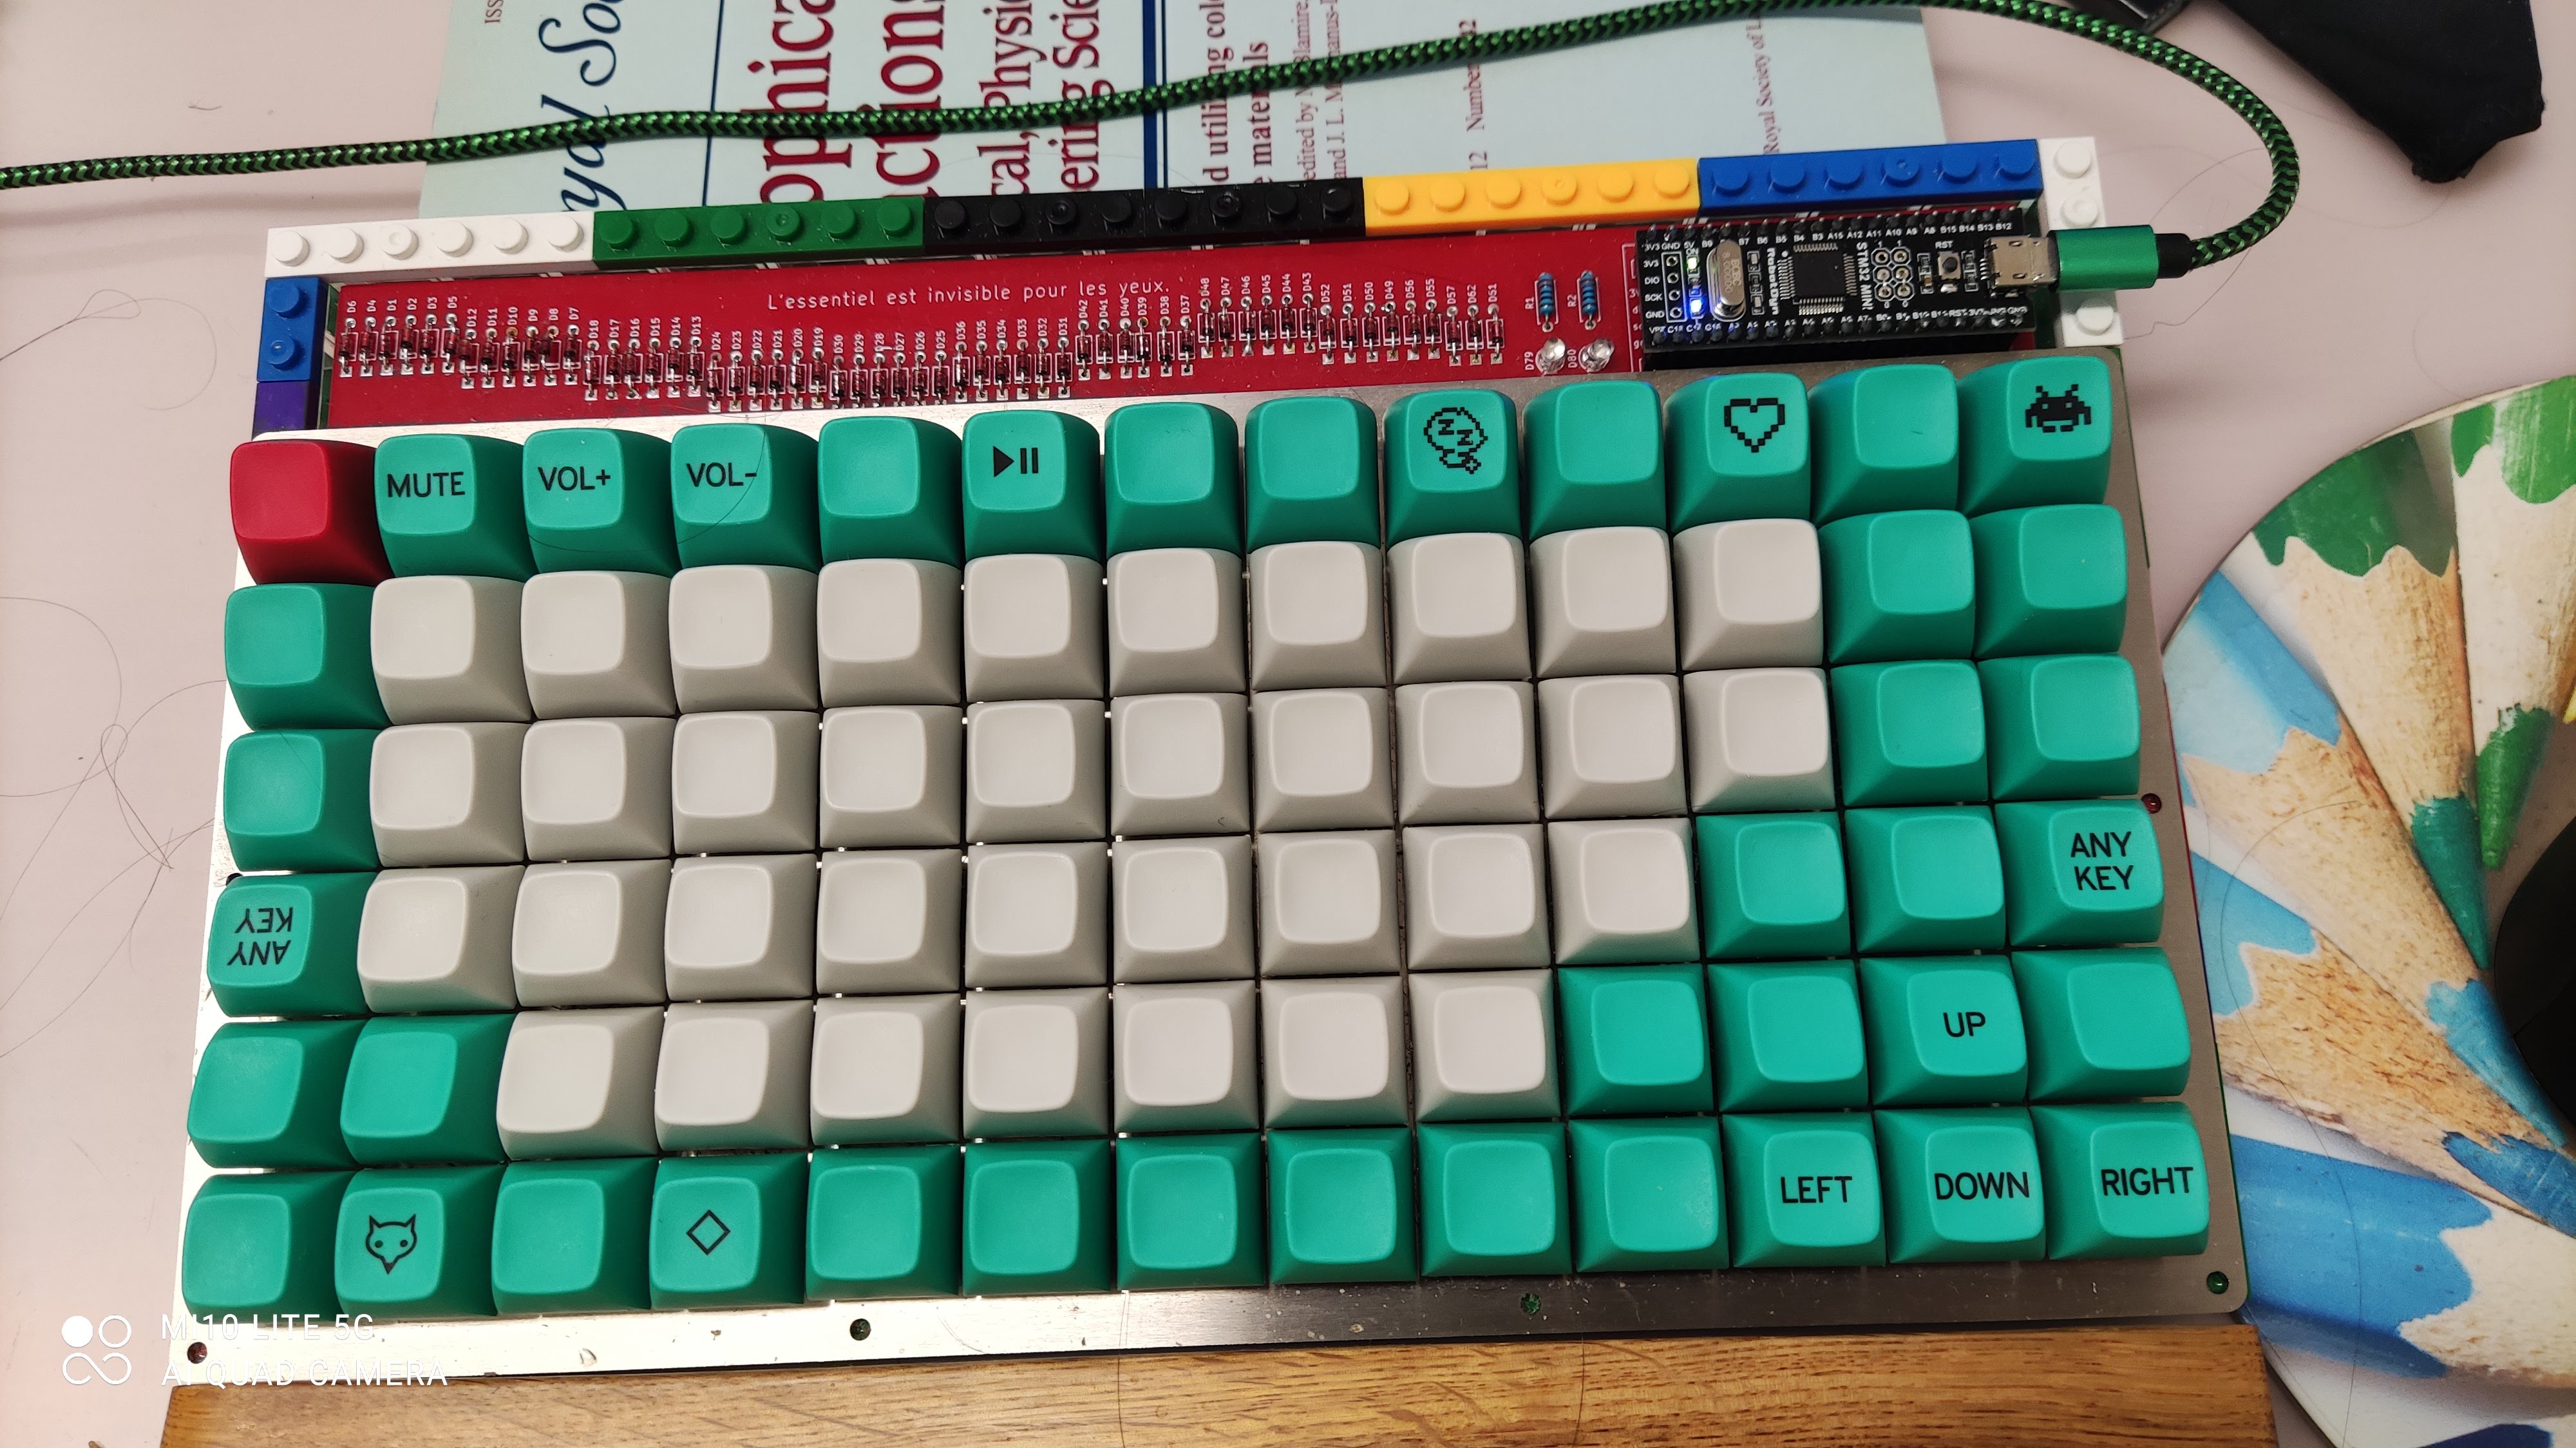
m78 first pcb plate mounted, January 2021
not bad but something is missing. For once I notices 6 rows are too many and glueing that plate on lego really was a blasphemy… so why not lego holes in the PCB directly?
so after some more toiling this came out…
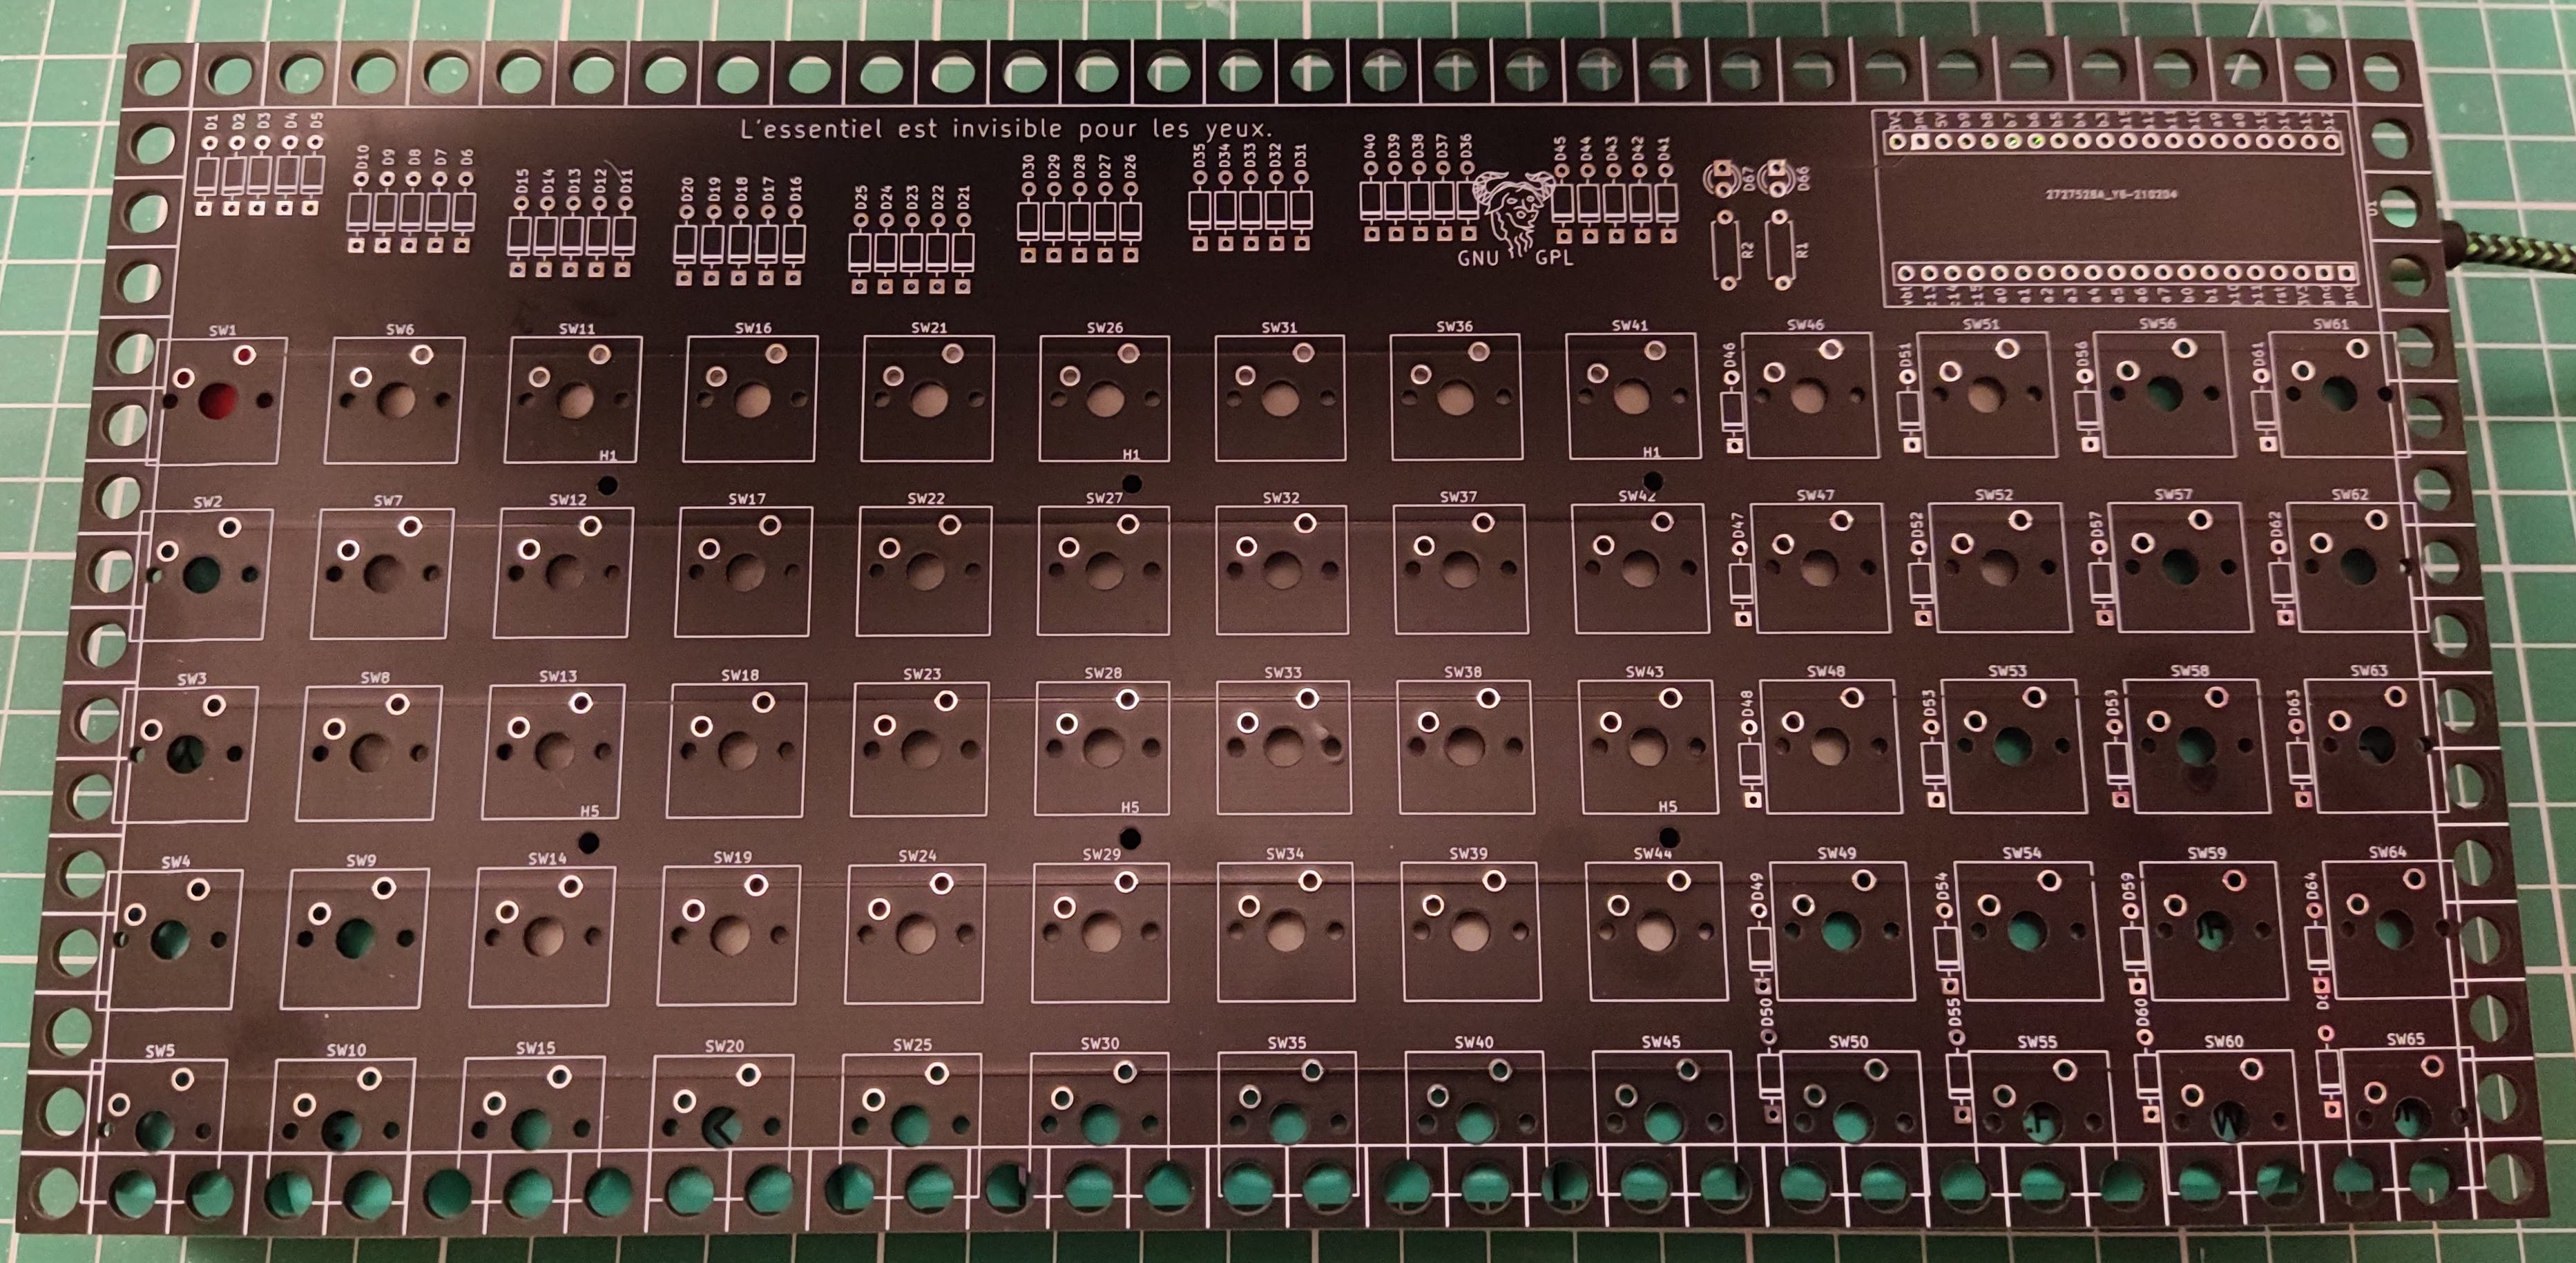
m65 first pcb lego holes, February 2021
I was a little bit afraid the holes will not be done right… but I was wrong… they are spot on as I put them in gerbers… One thing they seems to be a little bit exact for the lego and some pressure needs to be applied to get them in… I used lego plates 1x4 better are 1x2 but I did not have the colours I wanted to I need to wait to replace them.
but the result is not too bad…
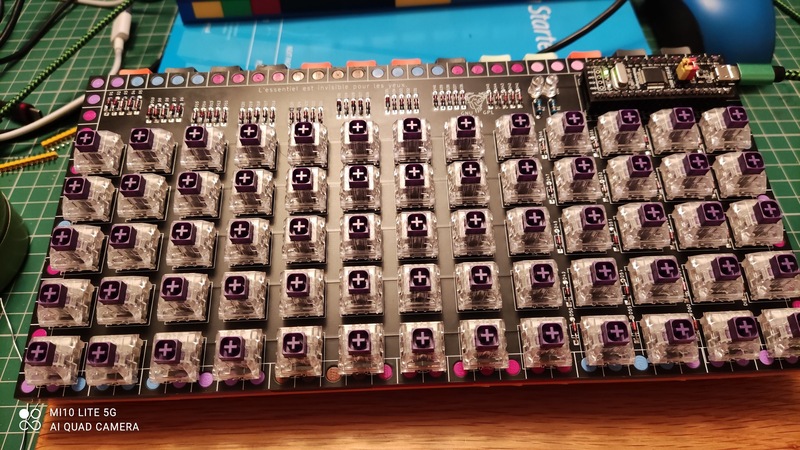
m65 first pcb lego no keycaps, February 2021
keycaps will be /dev/tty blanks and not only of course still in post… till then some intermediate… oem keycaps blanks from all over but mainly carbon set from ymdk.
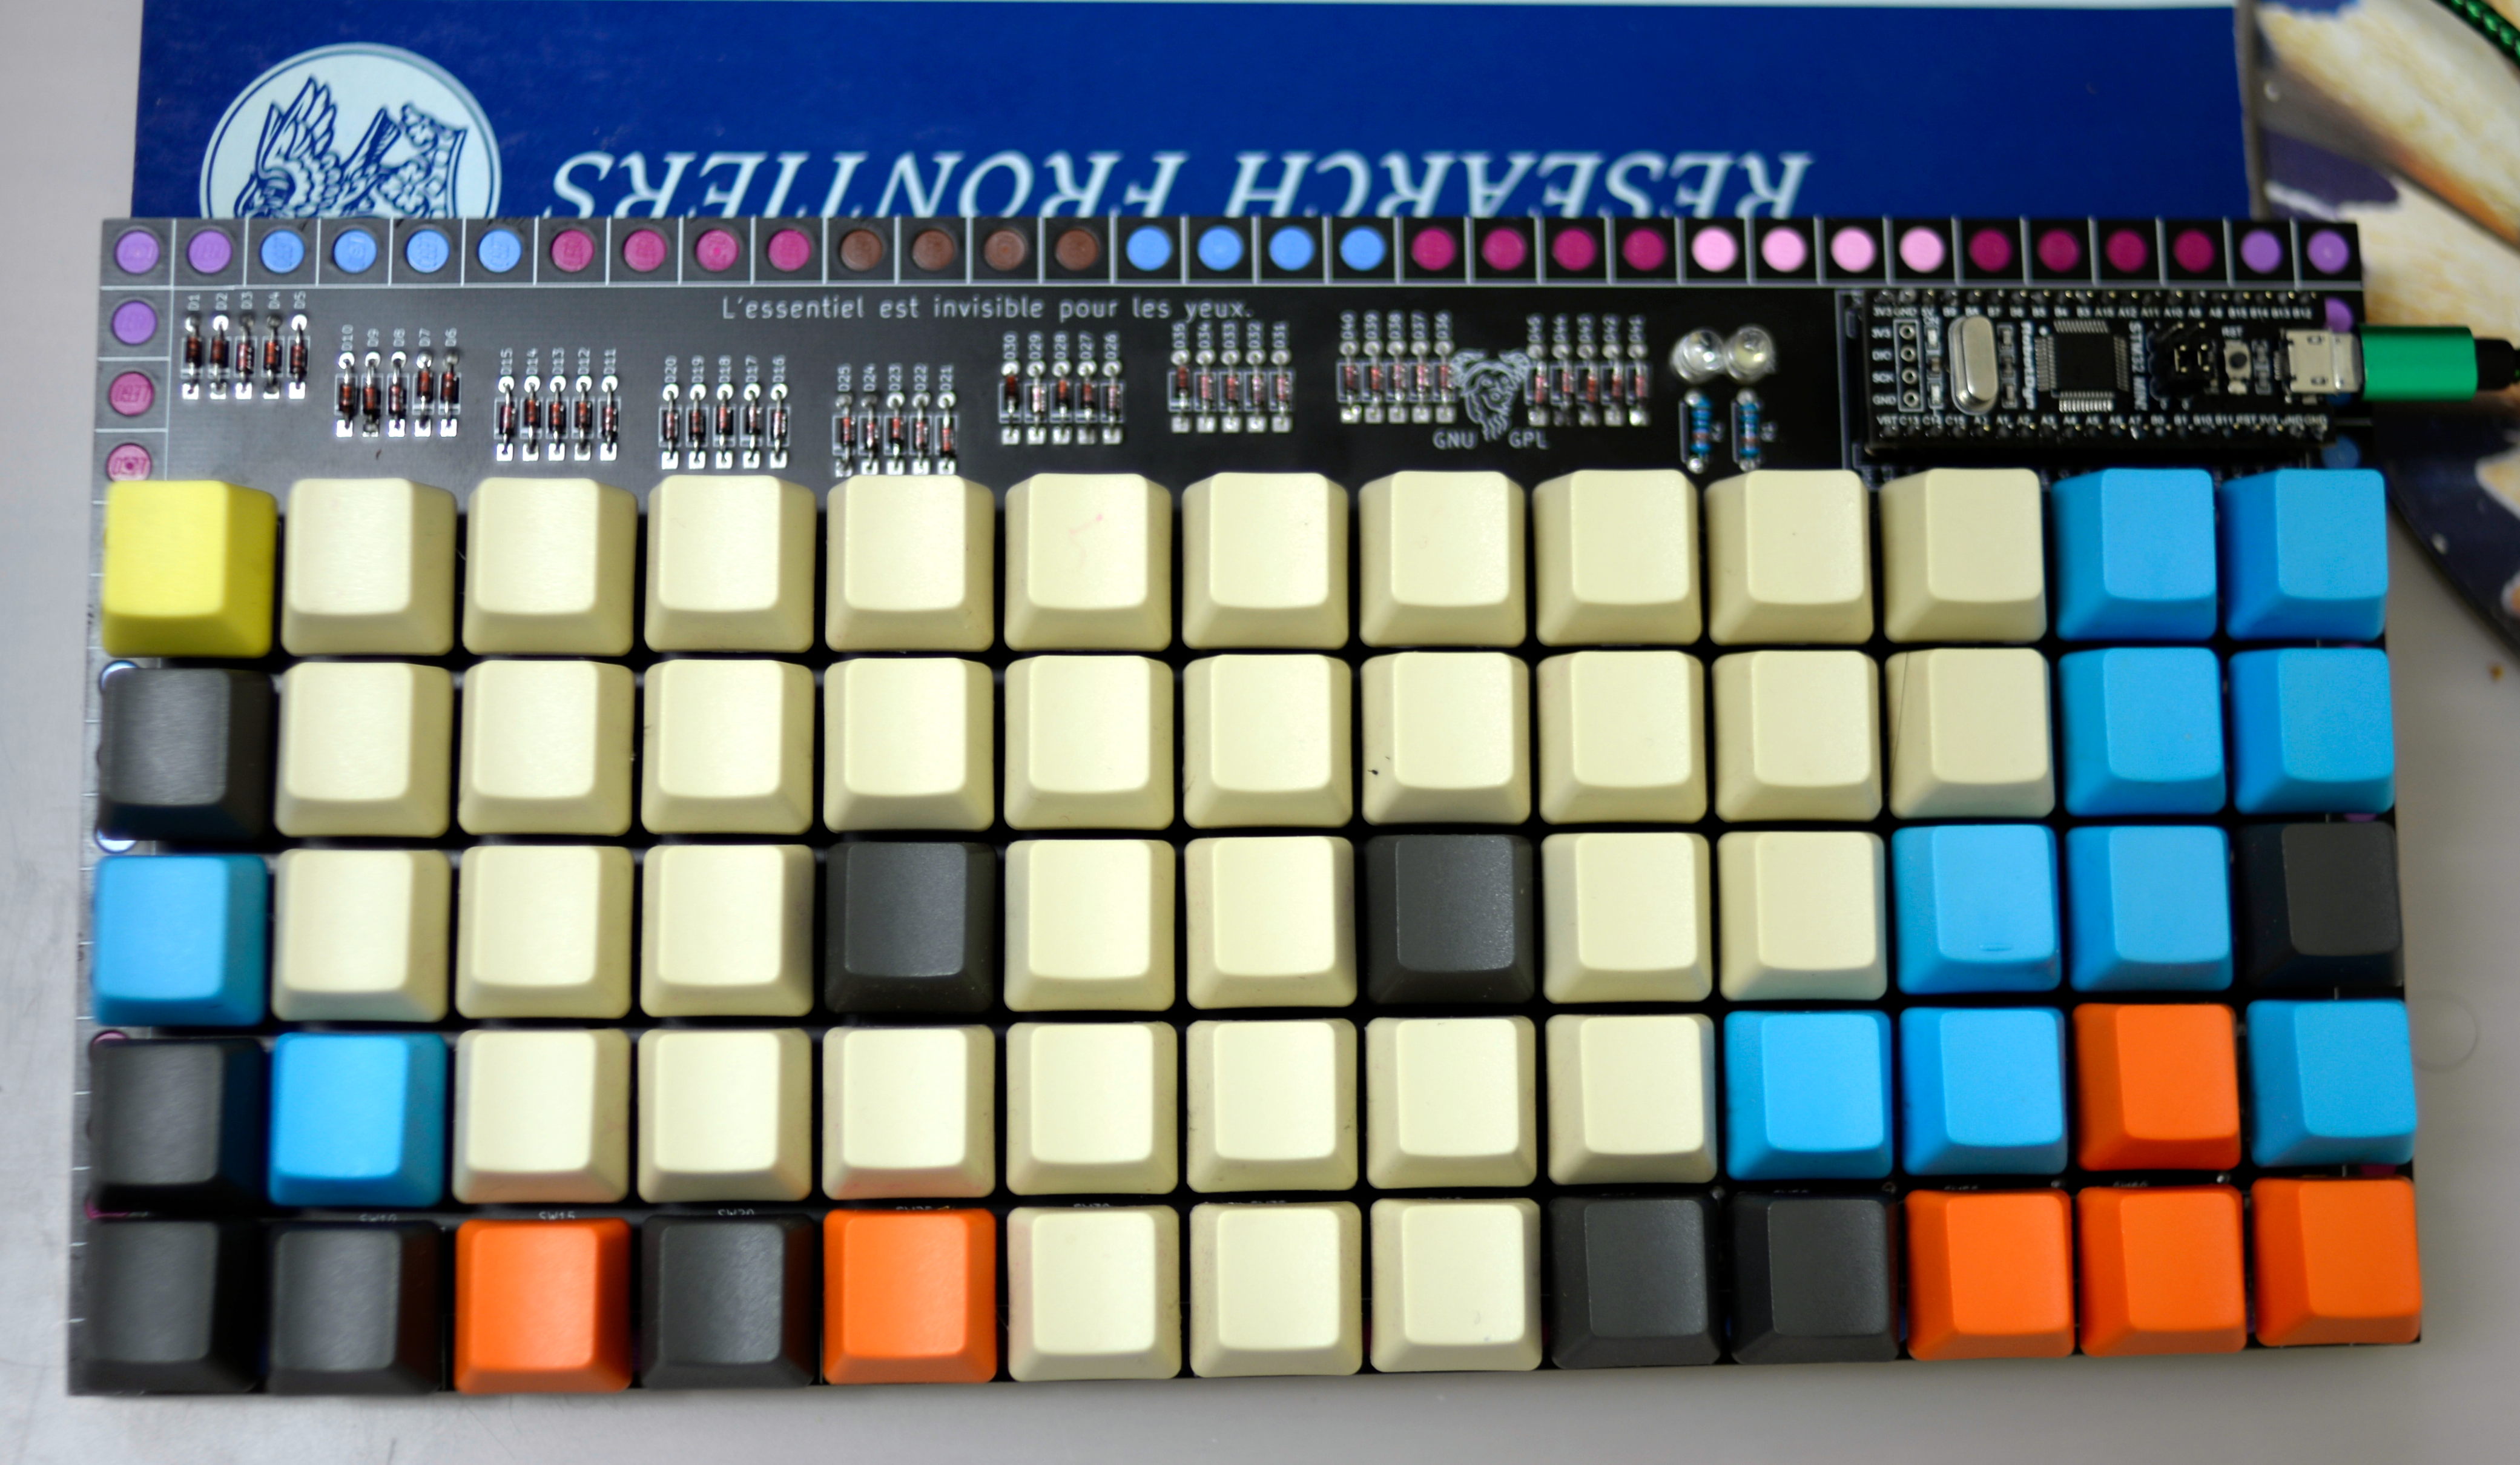
m65 first pcb lego oem keycaps, February 2021
here is the almost final version in /dev/tty
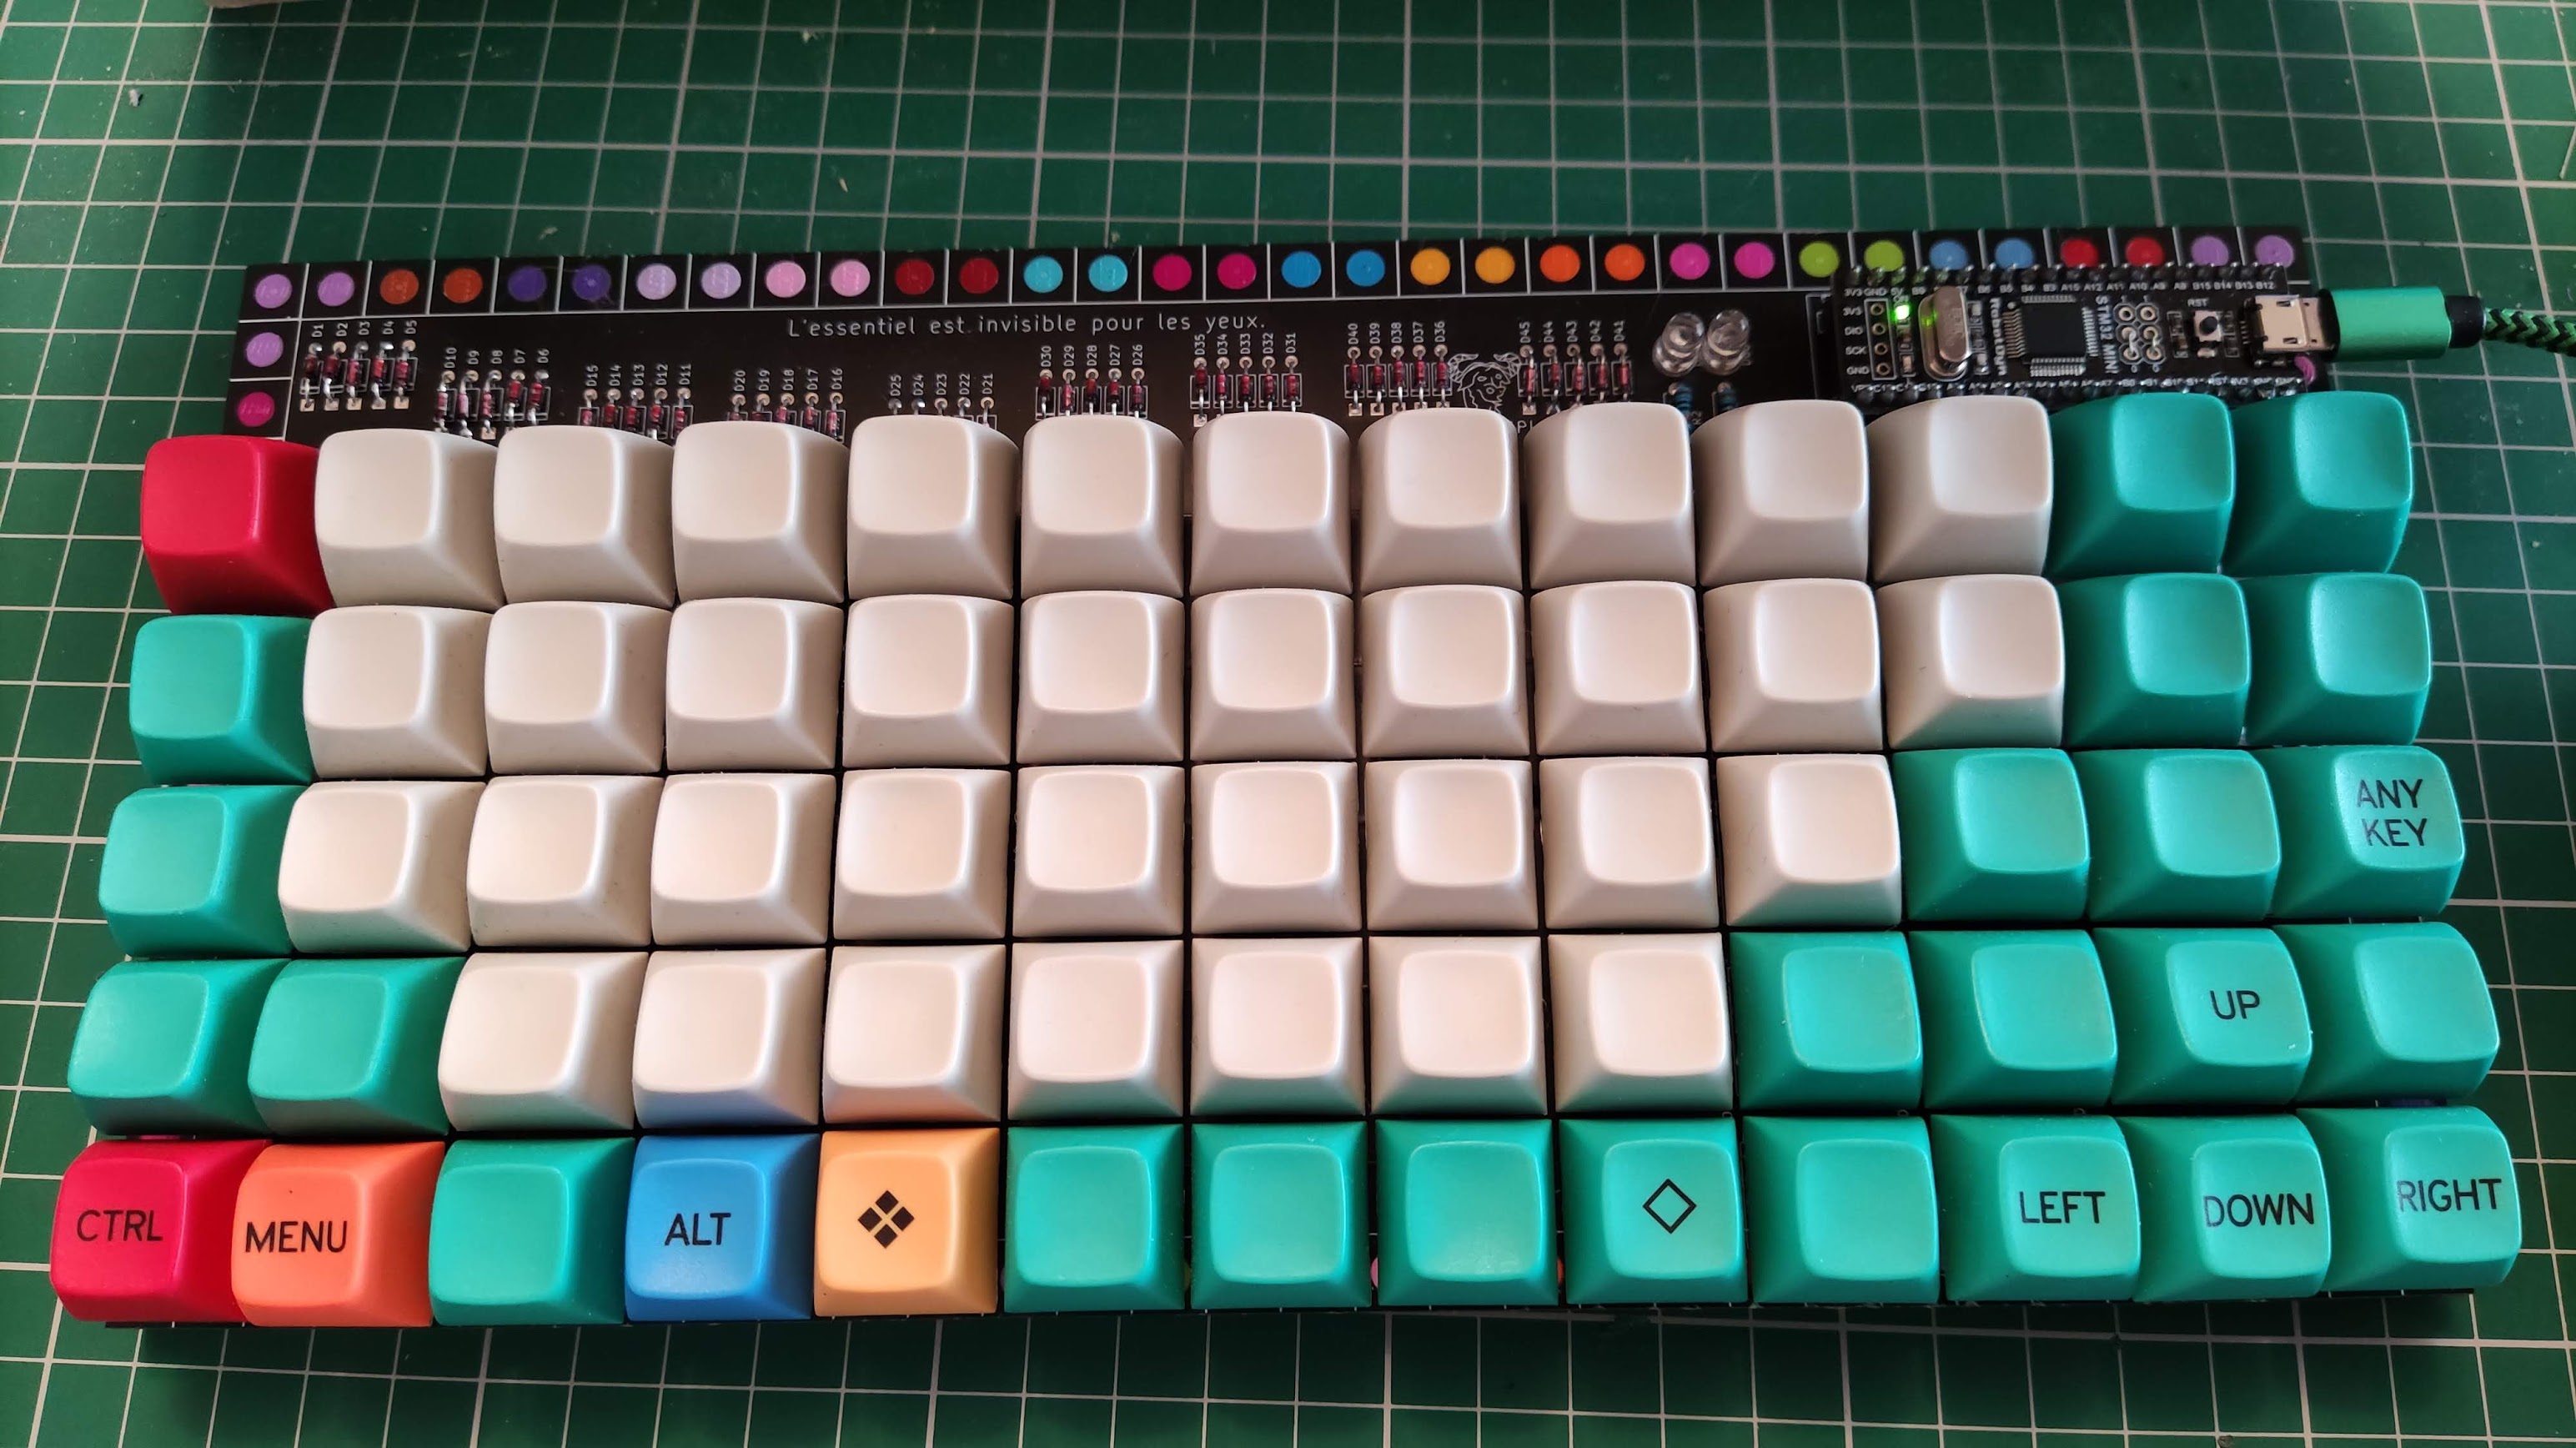
m65 first pcb lego /dev/tty keycaps, February 2021
the final version with right colours(MT3 /dev/tty bleached v2 and kailh box crystal royal) :
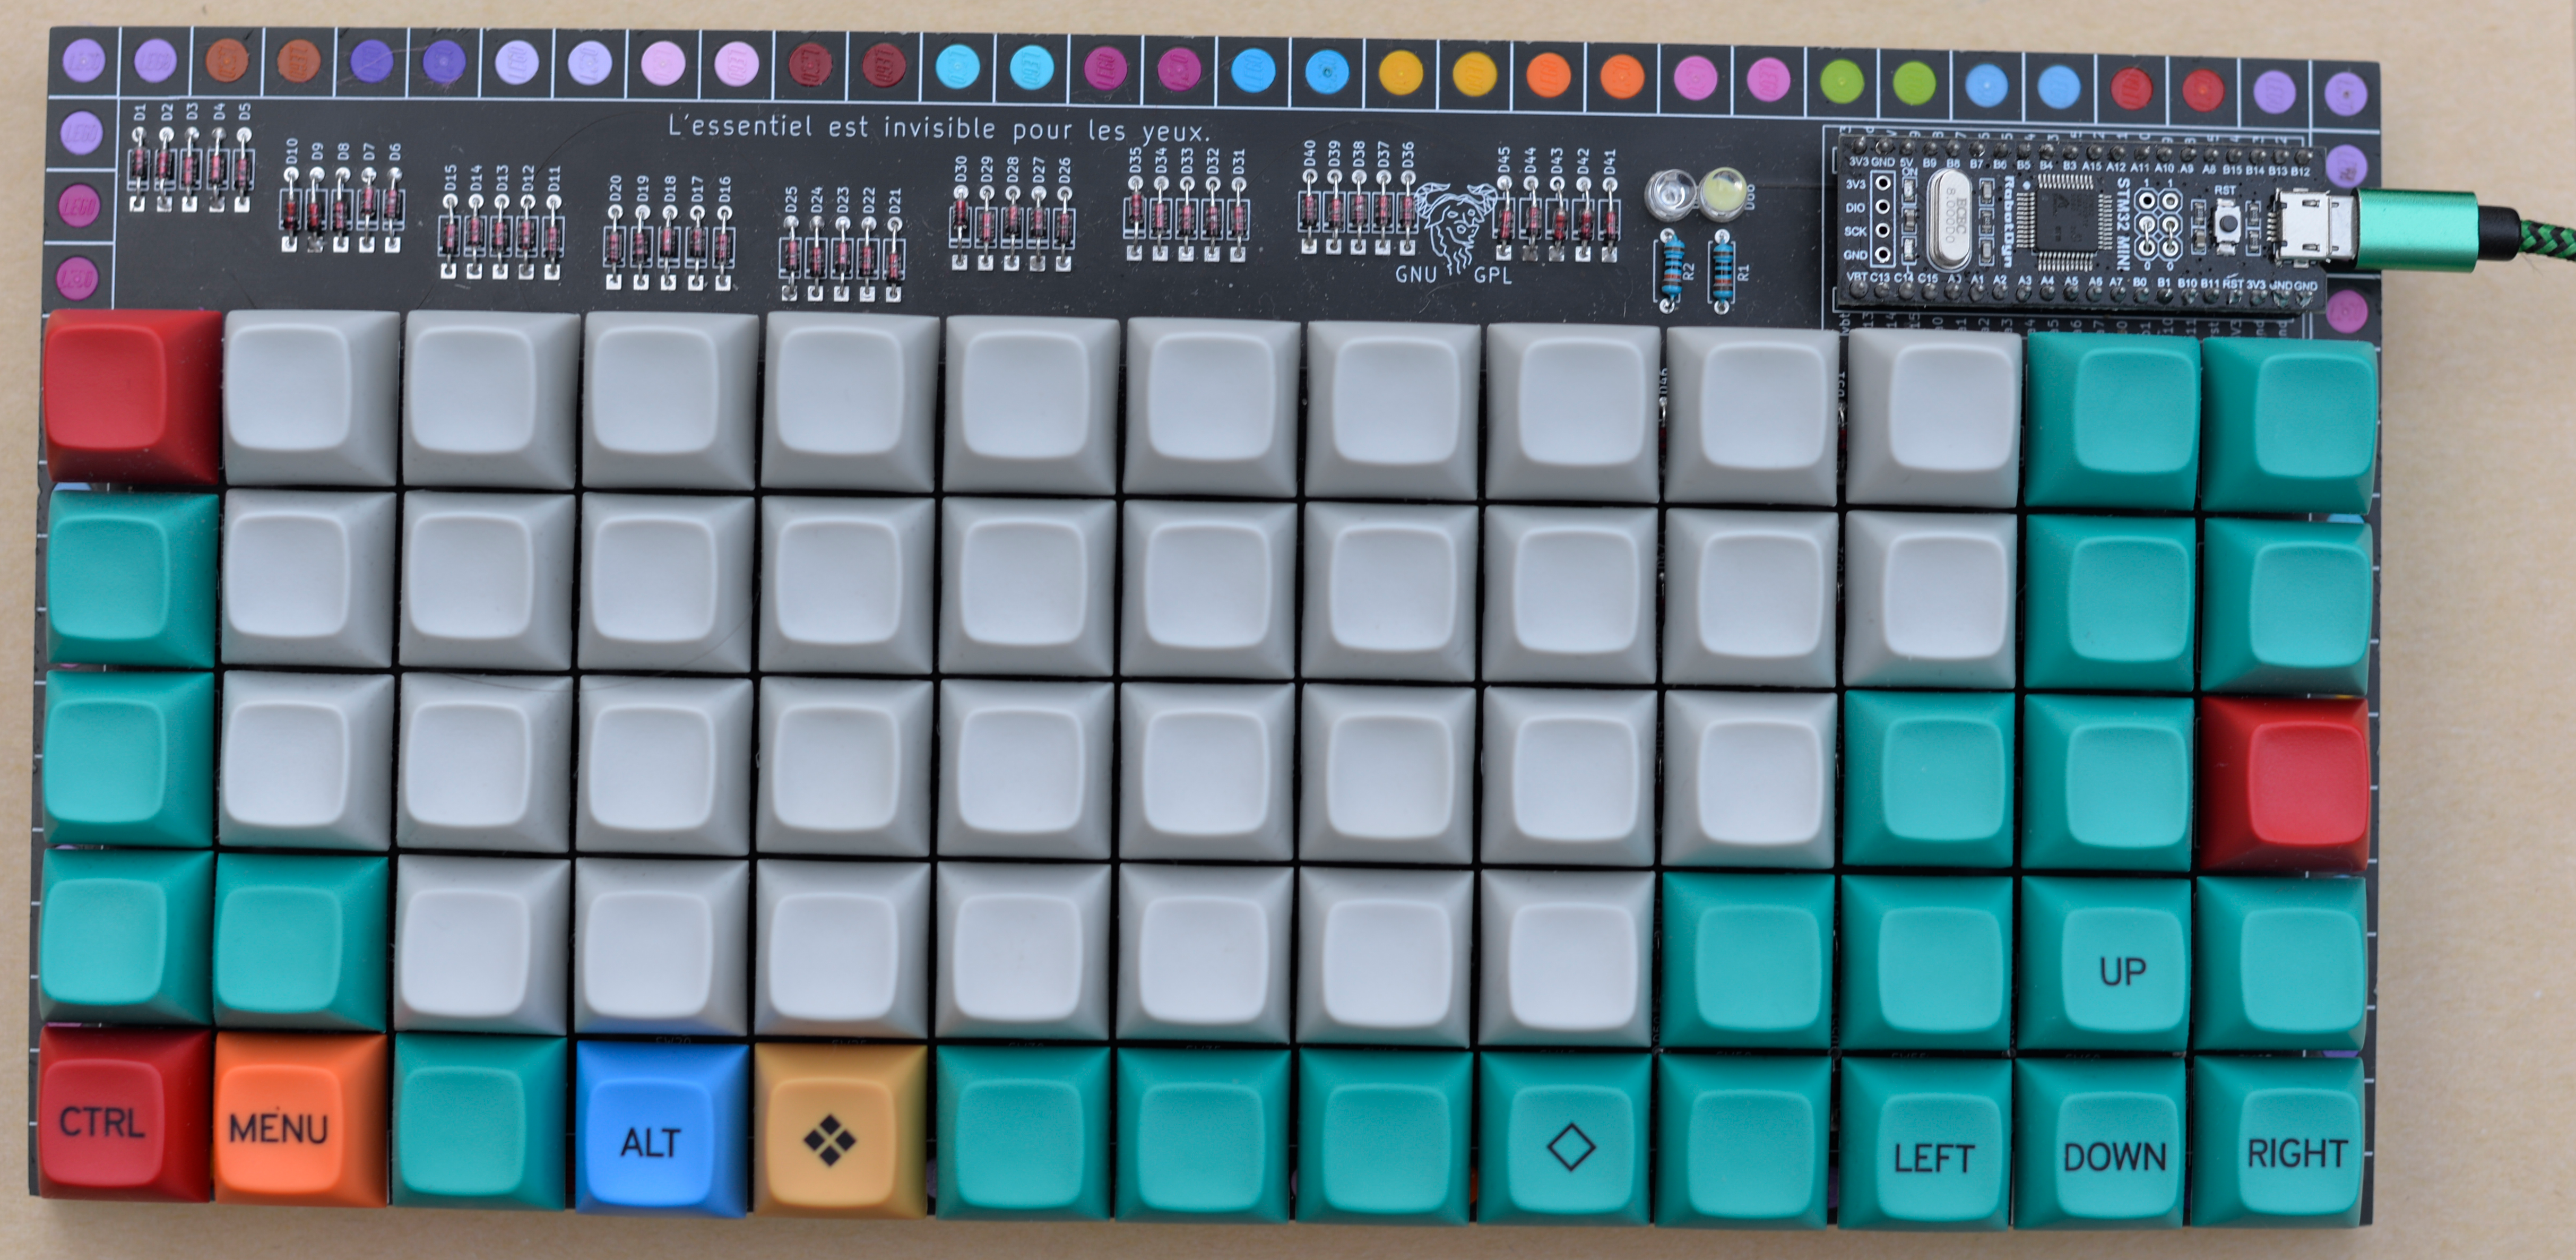
m65 first pcb lego /dev/tty keycaps, February 2021
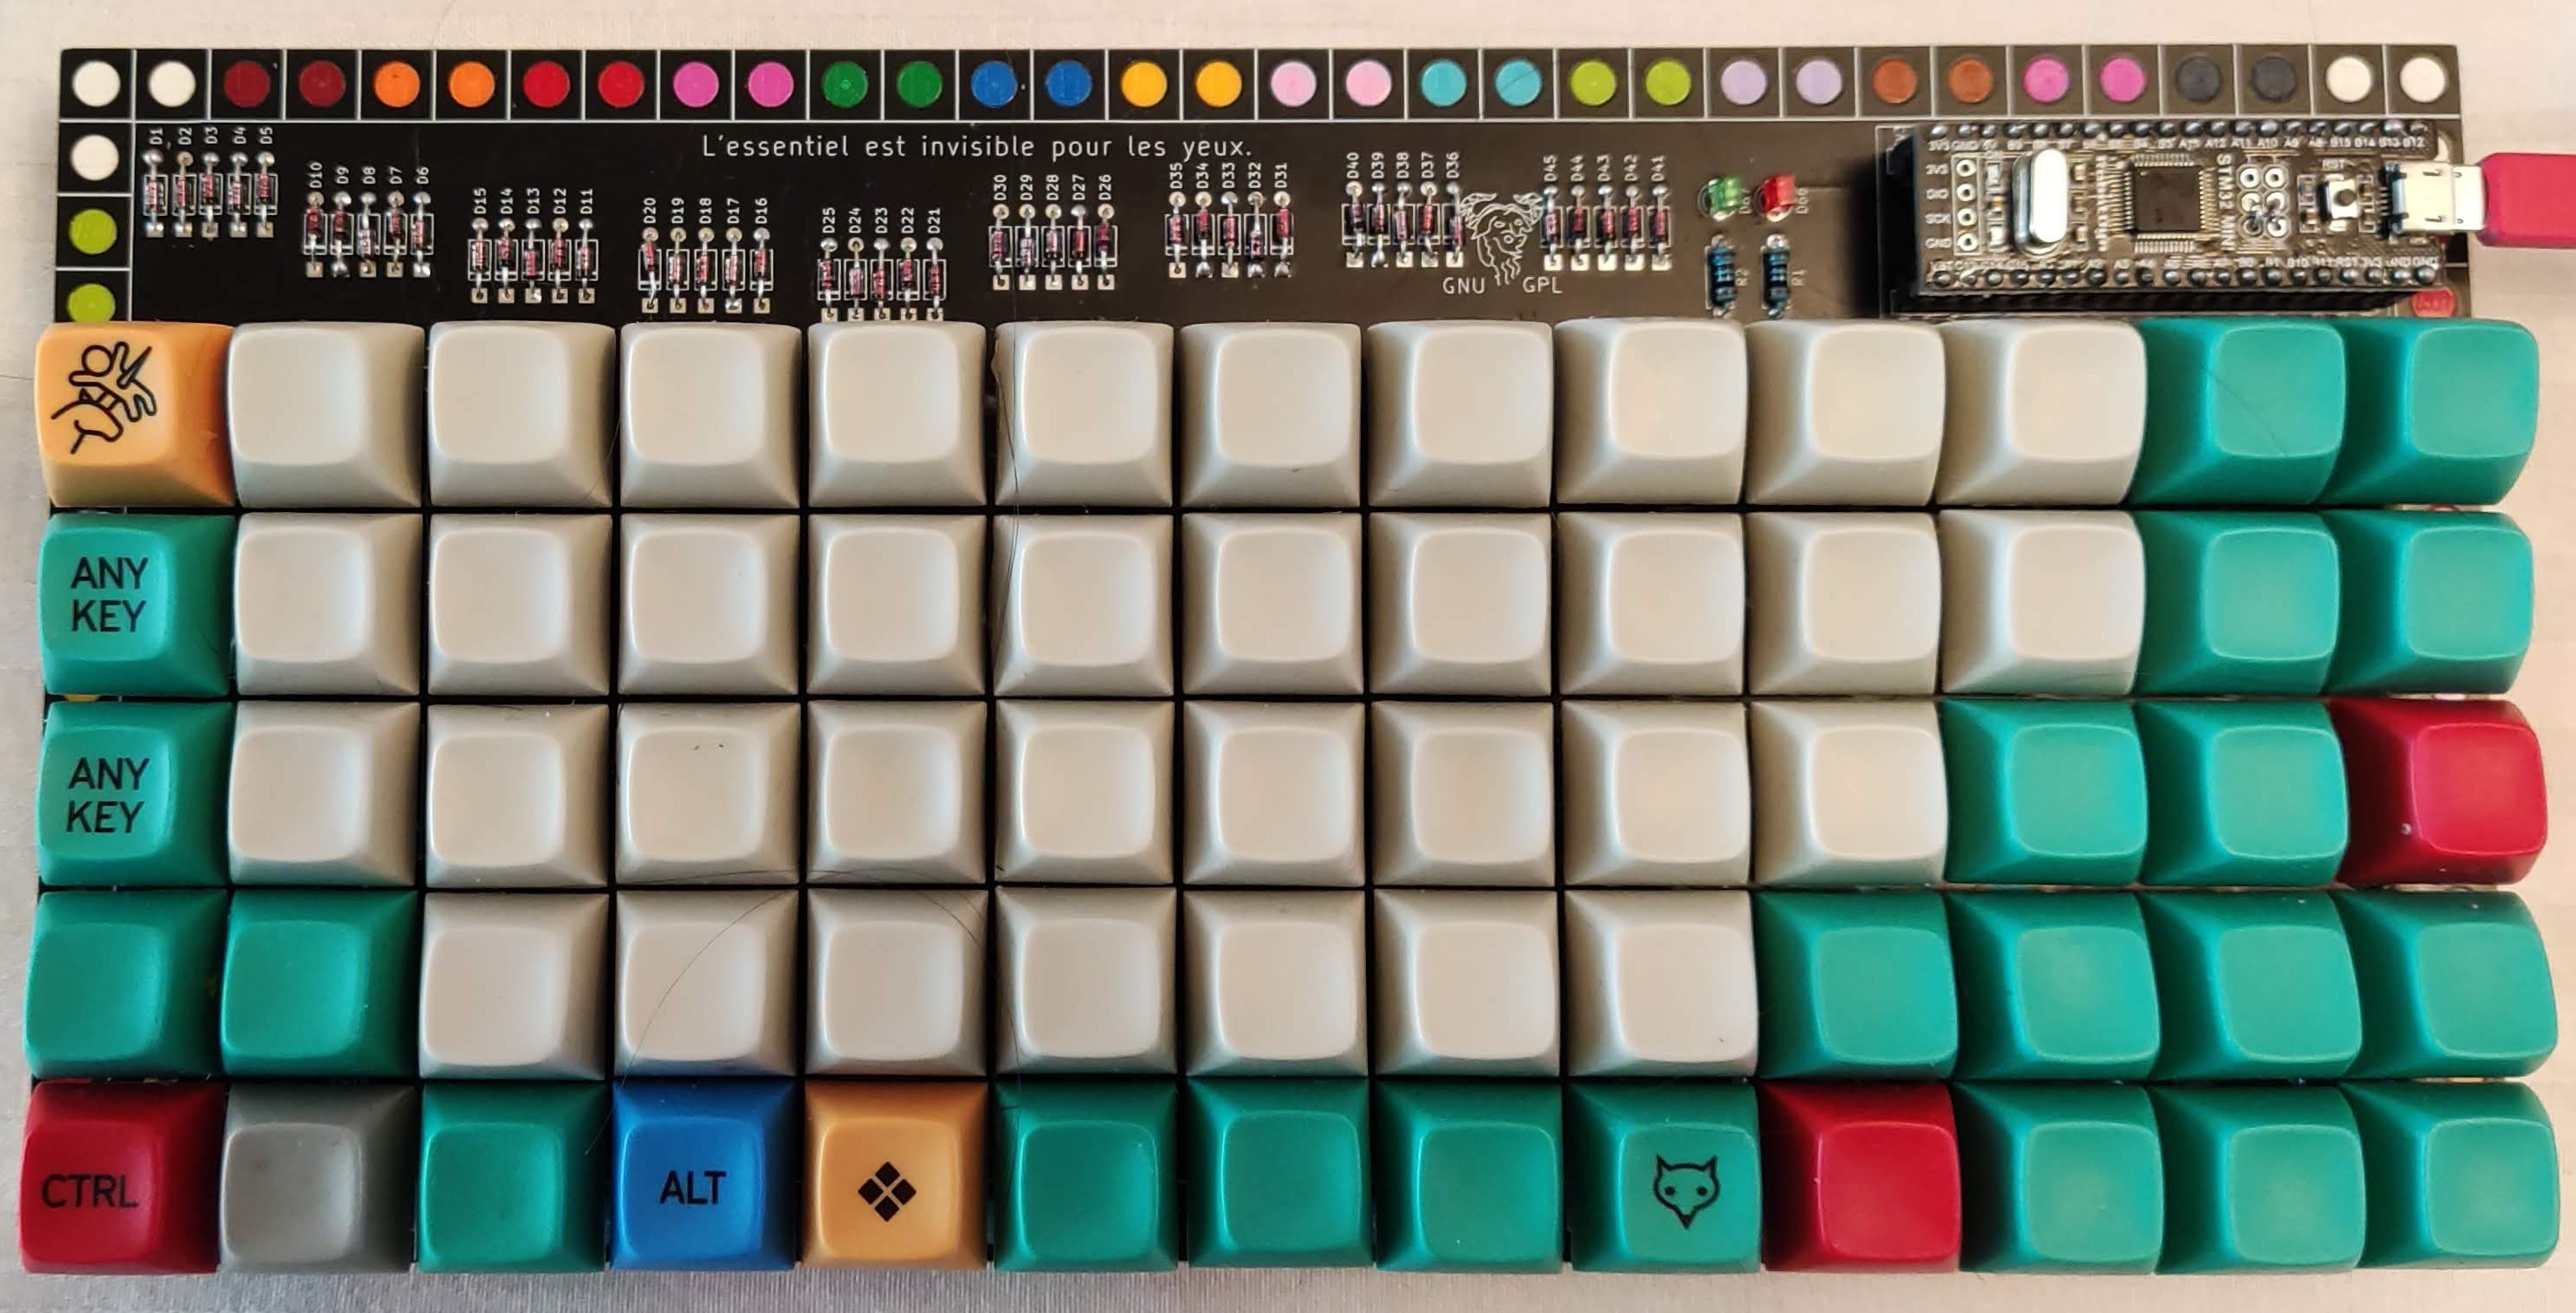
m65 second pcb lego /dev/tty keycaps, February 2021
this is another with mt3 susuwatari and kailh box crystal jade (third )
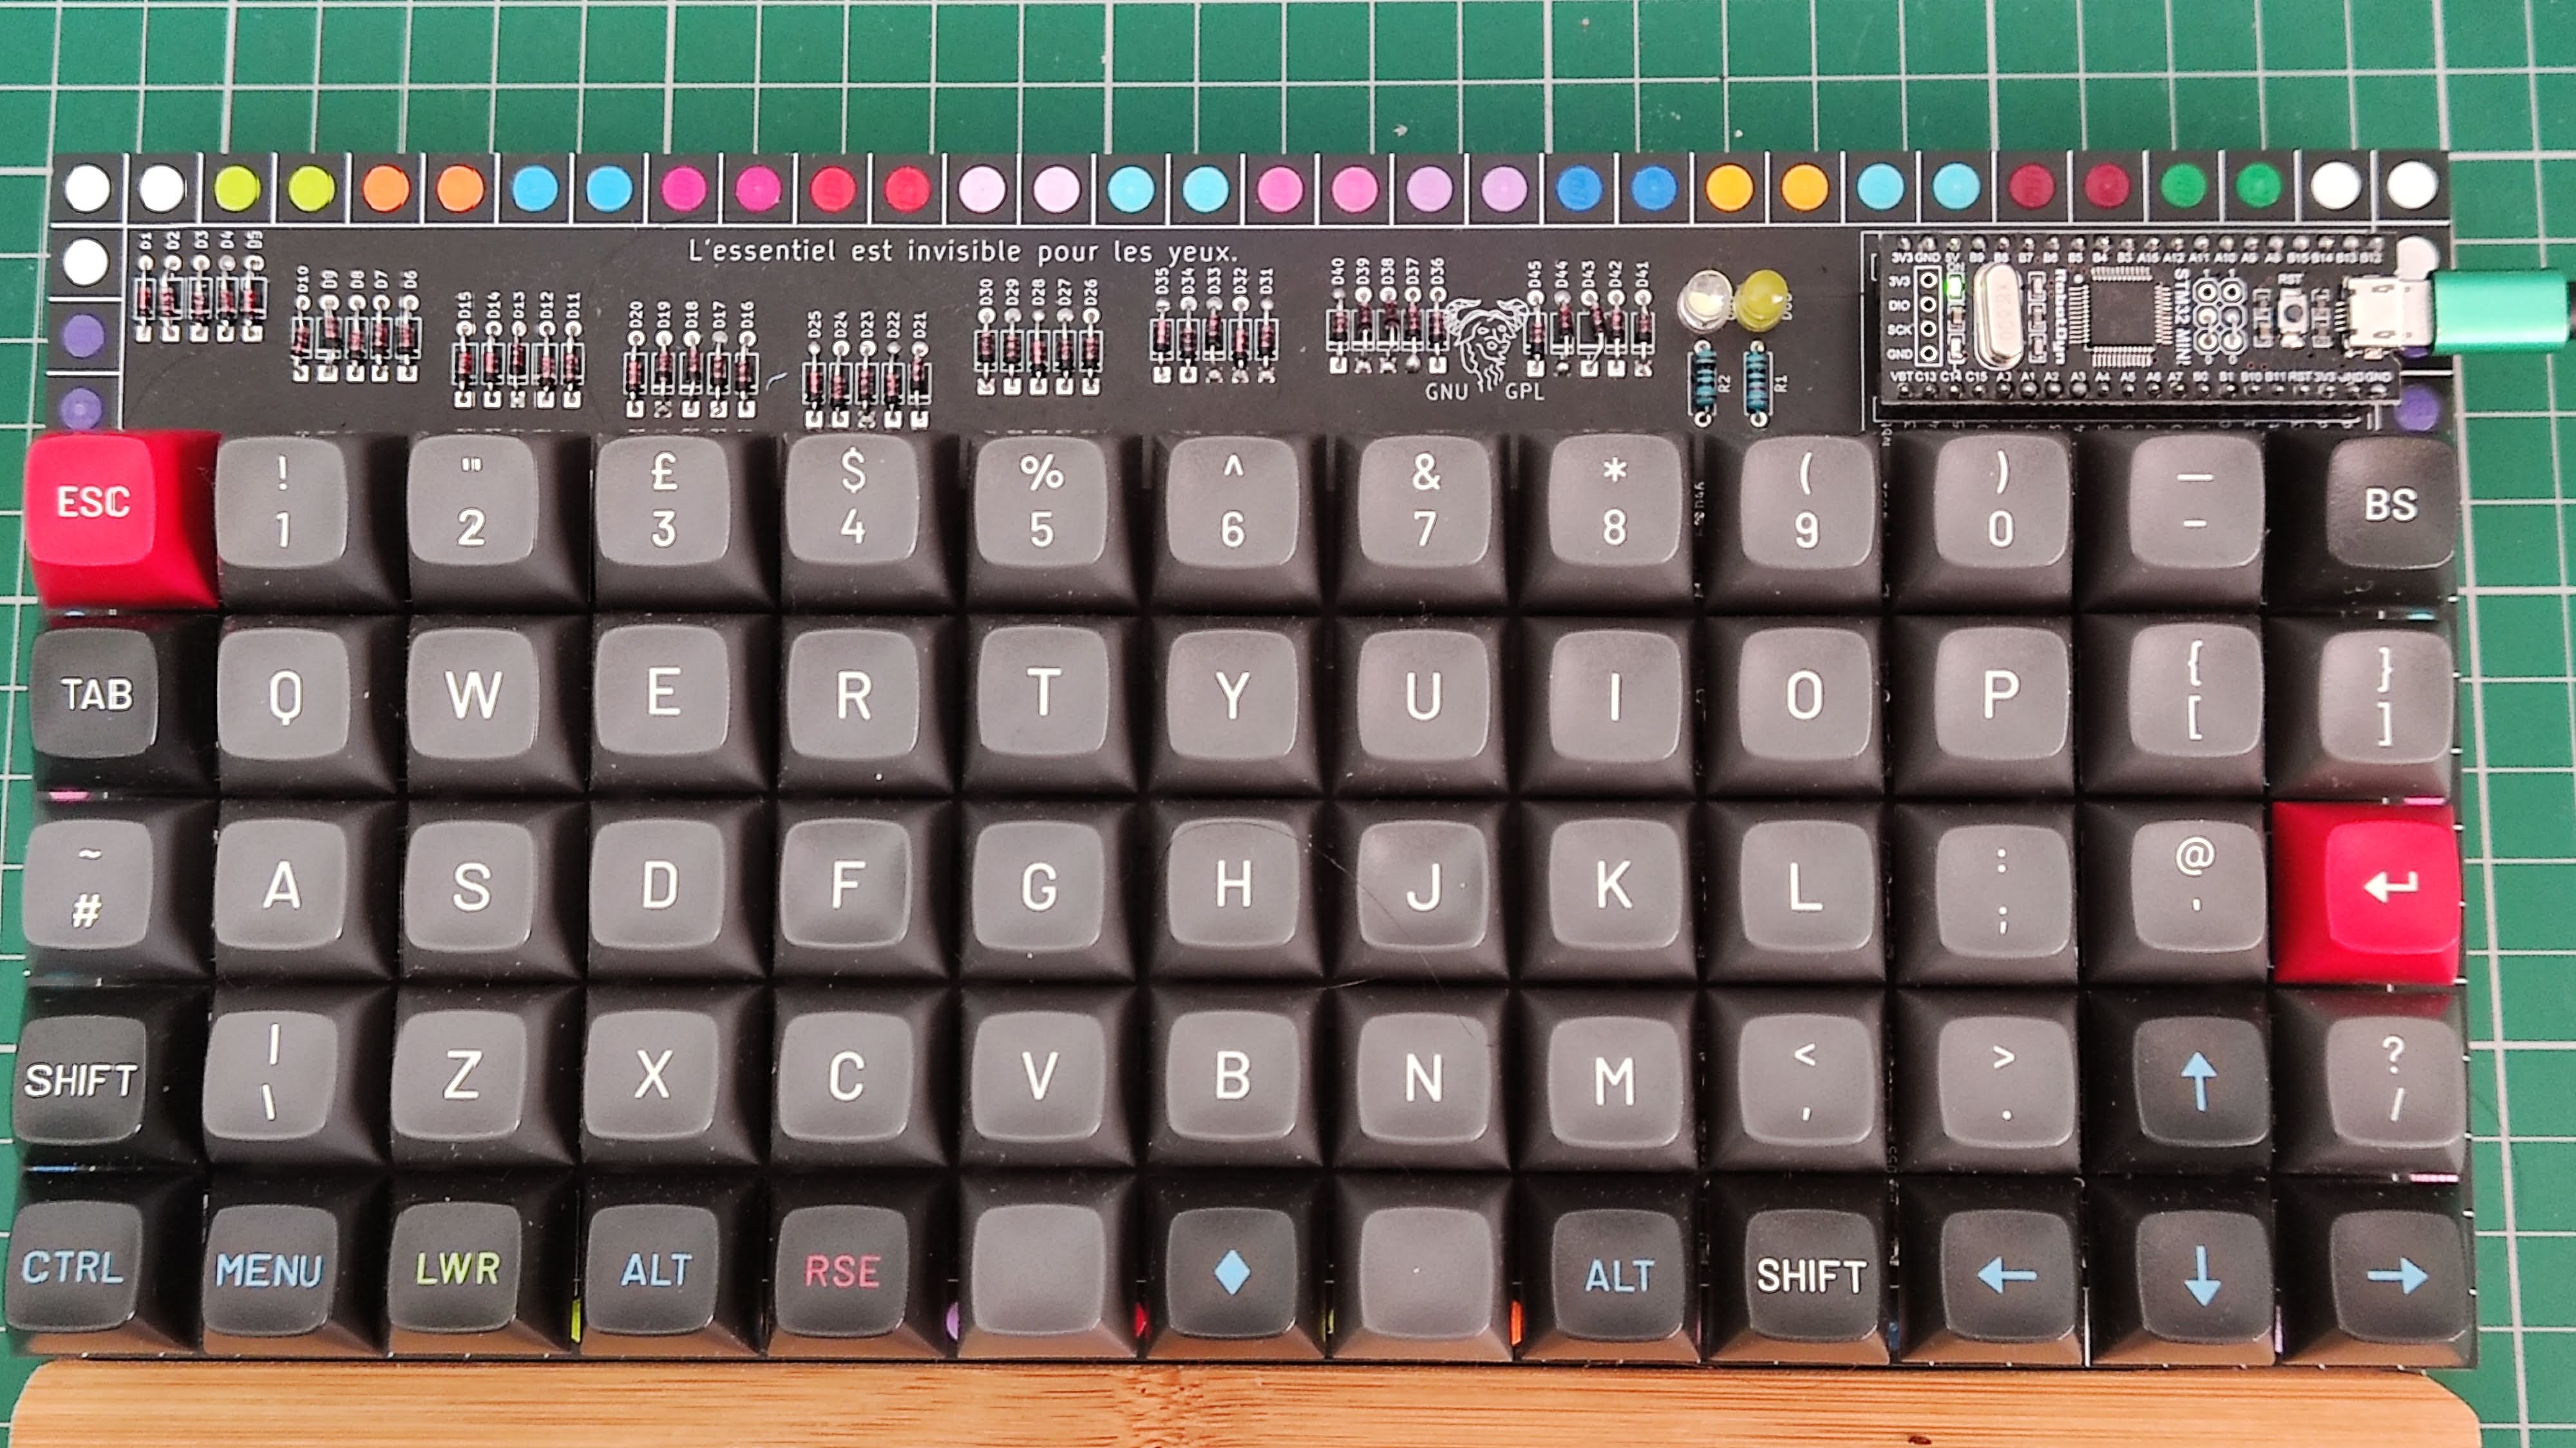
m65 pcb lego mt3 susuwatari keycaps, March 2021
fourth is waiting keycaps (nk blueberry)
fifth is waiting keycaps (gateron ink v2 silents - yellow and red)
the layout is iso uk inspired, i kept the same rows so I do not have too many issues with the keycaps.
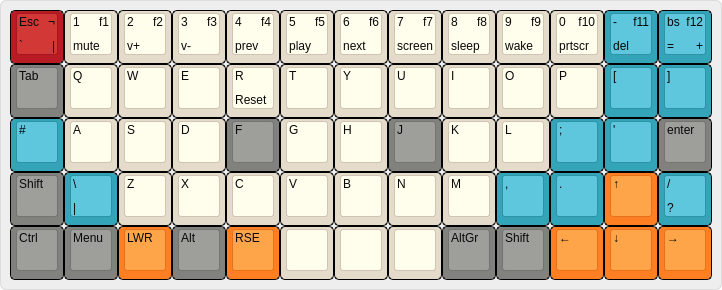
m65 layout, February 2021
another build with susuwatari will follow for my girlfriend to try the ortholinear…
the firmware is qmk: https://github.com/alinelena/qmk_firmware/tree/m65-dev I hope to contribute it back
the mcu is: Black Pill APM32F103CB 128KB from robotdyn
the lego is all used sourced from brickowl…
the pcb is GPL 3.0… in here: https://gitlab.com/drFaustroll/m65.git
I am still wondering if I shall put a stainless steel base plate I am not really yet convinced by the lego plate alone.
Now the money bit: 24 pounds for 5 pcbs shipped to UK, around 7 pounds for lego. the mcu 9.43 dollars for 3 shipped. switches and keycaps as you please…
you can comment in here… https://www.reddit.com/r/olkb/comments/lntirw/finally_all_in_lego/
fun facts… the lego plate needed is 32x16 in lego studs, in mm 256x128… if you like numbers you spot the pattern…
note: pictures are horrible mainly as an anti-thesis to all the glamorous shots one sees on reddit..

